Importing existing students from your school site who have already been imported into the Let's Go Learn system is easier than ever.
Option 1: From the Class Page:
- If you have not already, create a new class on the Class page. For Instructions - Click Here
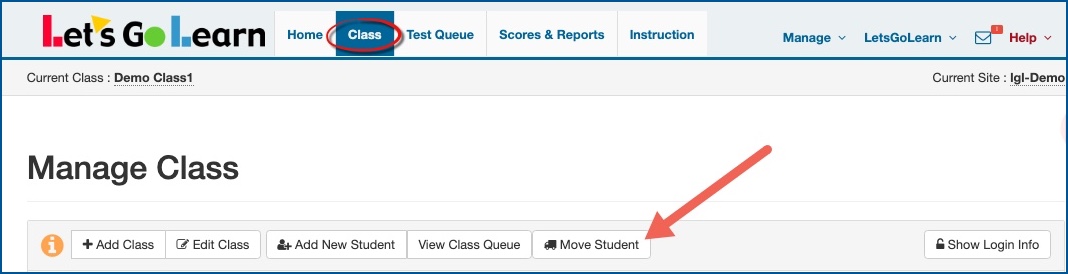
- Click on the <Class> tab and then click on Move Student.
- Note: The Move student button may not be available for all Clients. If you do not see the Move Student button on your Class page, please refer to option 2 below - "Using the Manage - Student Roster"
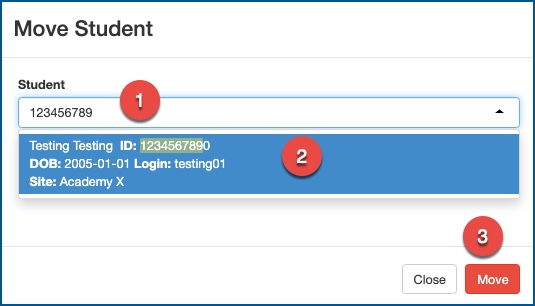
- The window below will appear.
- Type in the student's School ID or name (first or last, not both together) in the box. It is best to use the student's ID number first.
- From the matches that appear, select the correct student. Please be careful you are not selecting a student from a different school.
- Click "Move" to save your selection.
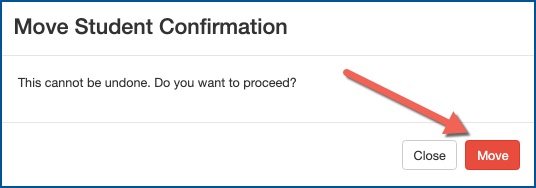
- A confirmation message will appear. Click on Move to confirm.
NOTE: This does not move the student out of their existing Class but simply moves them into the new Class as well.
Download or view PDF tip sheet below to see step-by-step instructions
Option 2: Using the Manage - Student Roster
For Video - Click Here
To populate a class with students already in the LGL System - use the Manage/Student Roster option from your teacher account.
If you need to create a new class, for instructions - Click Here
- Click on the "Manage" link on the top right of the page.
- Select "Student Roster".
- Click on "Show all Students".
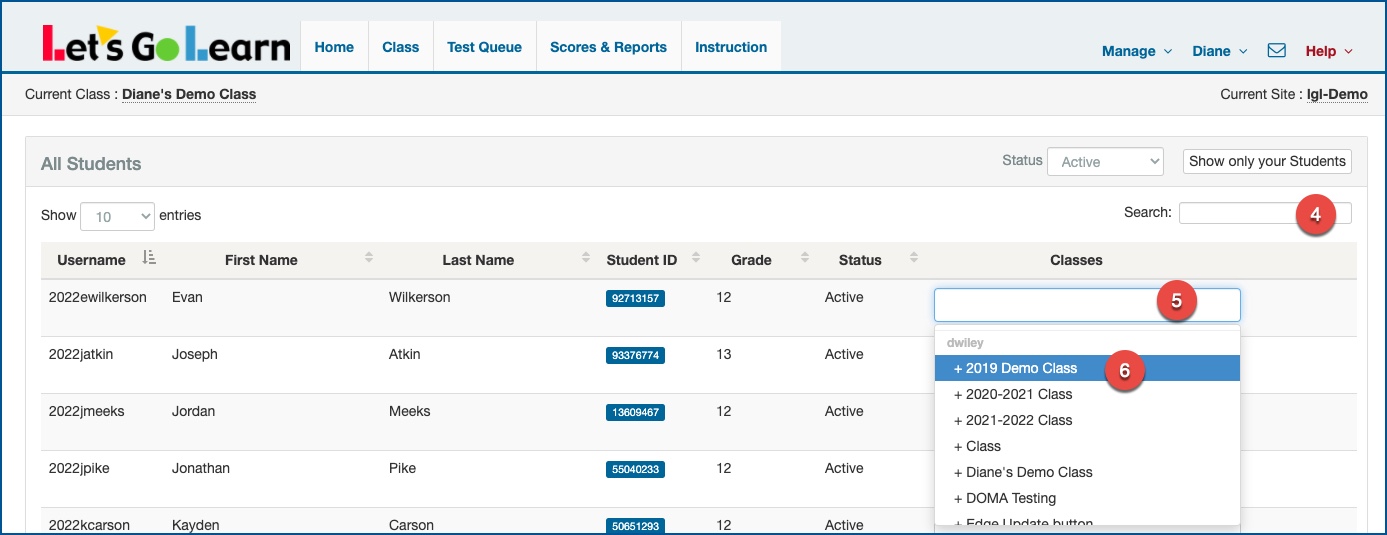
- In the Search field, use the student's ID or name (first or last, not both together) to find student.
- Once you find the student you wish to add to a teacher's roster, click in the box under the "Classes" column. If there is already a class(es) listed, be sure to click to the right of the class name in the blank area to add the additional class.
- On the pull down tab, scroll until you find the class you wish to populate the student. Click on that class name.
The student will now show up on your Class page.


 Profile
 Sign up now
 Manage
  Sign out